How to Archive a Google Classroom: Complete Guide
Keeping your digital classroom tidy is more important than ever. When you finish a course, it’s easy to overlook what happens to all that content and student work. Archiving takes care of this but often gets missed. Have you wondered what happens to your posts, assignments, and grades when a class ends?
Archiving a Google Classroom preserves your materials while removing the class from active view, so you can find files later without clutter. By taking a few simple steps, you ensure that nothing gets lost and your drive stays organized. Understanding this process helps you make informed decisions, avoid surprises, and maintain a clear workspace.
Understanding Archive Importance
Archiving a class moves it out of your active view while keeping all posts, assignments, and grades intact. This step is crucial if you plan to run the same course again or need student records later. Imagine needing past student submissions during an audit or showing a portfolio of work. Instead of losing emails or mixing folders, archiving acts like a digital shelf for each session. If you want to see archive features in Google Classroom, you can explore more on how it simplifies course management.
This method also keeps your drive cleaner by hiding classes you no longer use. The hidden shelf reduces clutter without deleting anything. Students can still view their archived work from their side. This helps if they want to review feedback or grades after the term ends. Administrators appreciate this feature when they handle dozens of courses each term.
Data shows that teachers manage on average five classes per term. Leaving old courses visible can slow down navigation and confuse both teachers and students. By archiving, you cut down on page load times and menu clutter. A quick tip is to mark archived courses with consistent naming, like adding the year or term code at the end. Then, when you search your archived list, you instantly identify each session’s context.
Practical tip: set a calendar reminder at the end of each semester to review and archive classes. This small habit becomes a routine part of course wrap-up. By doing it right away, you avoid forgetting or leaving it until the next term is underway. In the long run, this habit saves time and keeps your workspace organized all year.
Check Classroom Readiness
Before you hit the archive button, take a moment to prepare your classroom. First, review all assignments and grade entries. Make sure grades are released to students and any missing submissions are handled. This prevents surprises when students ask about their scores later.
Next, tidy up your stream by deleting test posts and duplicating announcements. Archiving keeps content but does not remove drafts or repeated messages. A quick scan for obsolete items ensures only relevant materials stay in the archive.
Then download any shared files or templates you might need again. If you built a popular slide deck or worksheet, store it in a designated folder in Google Drive. This way, you can easily copy or reuse it in future courses without digging through an archive.
Finally, confirm that the class code is disabled or changed. While archiving hides the classroom, leaving the same code active can confuse new students. Consider deleting old codes so that only active courses are open for enrollment. This step keeps both active and archived classrooms clear and secure.
Step-by-Step Archive Process
Archiving a class takes just a few clicks once you’re ready. Follow these steps in order:
- Open the class you want to archive in Google Classroom.
- Click on the “Settings” gear icon in the top right corner.
- Scroll down to the “General” section and find the “Archive class” option.
- Click “Archive” and confirm in the pop-up window.
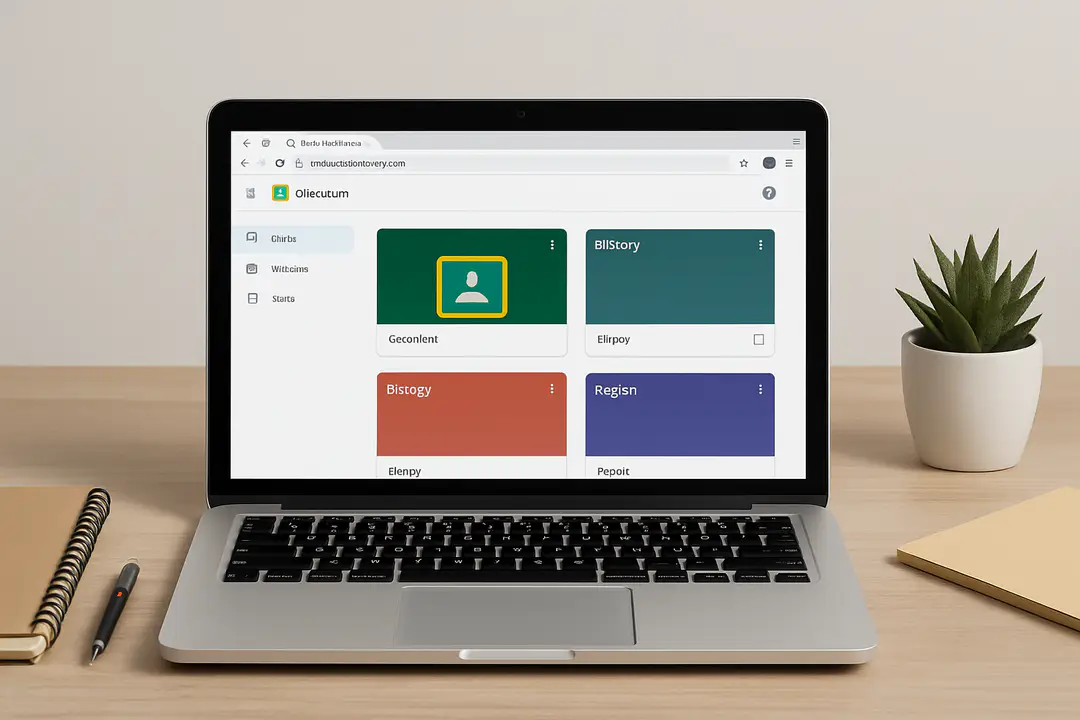
- Return to your main dashboard to see the archived class listed under “Archived classes.”
After you archive, the class disappears from your active list. Students still see it in their archived tab. If you manage multiple sections, repeat the steps for each one. A handy tip is to archive courses in alphabetical order or by term date.
This process preserves all posts and attachments. It also locks the classroom from new posts or submissions. Students cannot turn in new work in an archived class. That makes archiving an ideal way to finalize a course.
Retrieving Archived Classes
Sometimes you need to unarchive a class. Maybe a student requests access to old feedback. To restore an archived class, go to your Classrooms page.
Click on the “Archived classes” link at the top of the page. You’ll see a list of all courses you have archived. Find the class you want and click on the three dots menu next to it.
Select “Restore” from the dropdown. The class moves back to your active list. All original settings, students, and content remain intact. You can now post new announcements or assignments if needed.
If you handle many archived classes, use the search bar or filter by term. This makes it easy to jump to the right course. A pro tip is to add tags in your class names like “Fall2024” or “Chem101” so you can quickly locate them.
Backing Up Course Data
Archiving keeps your course inside Google Classroom, but it’s wise to have a local backup. Downloading your materials safeguards against accidental deletion.
Start by exporting your gradebook. In the Grades page, click “Download” to get a CSV file. Save this file in a secure drive folder. It’s especially important when you need to share grades with administrators.
Next, open the “Classwork” tab. For each assignment or material, click the three dots menu and choose “Download.” This process can be slow if you have many items. To speed up, download all files from the Google Drive folder that Classroom created when you set up the class.
Finally, back up your private comments by copying any important feedback into a document. While these comments stay in Classroom, having them offline can help if you switch platforms later. Regular backups give you peace of mind.
An easy approach is to schedule a monthly drive sync with tools like Google’s Backup and Sync. This way, every new file is stored locally without manual steps.
Using Third-Party Tools
If you want more control over archiving and backups, several third-party tools can help. These plug into your classroom and automate exports.
Here are three popular choices:
- Classroom Backup Pro: Exports posts and materials daily and stores them in your Drive.
- Bulk Downloader for Classroom: A browser add-on that grabs all attachments in one click.
- Cloud Copier: Syncs your class folders to local storage or other cloud services.
These tools can save time, especially if you manage dozens of classes each term. They often include search and filter options you won’t find in basic Google Classroom. For advanced course work like AP modules, you can also compare these with features in AP Classroom to see which suits your style best.
Remember to verify each tool’s privacy policy. Check that student data is secure and compliant with your school’s policies. A quick trial run before full deployment can help you avoid surprises.
Maintaining Organized Records
After archiving, you still need a system to track your classes. A simple spreadsheet can list each archived class with key details. Include class name, term, archive date, and a note on where backups are stored.
You might use folders in Google Drive labeled by year and subject. Move each archived class folder into its folder for easy browsing. If you rely on Classroom’s archive, add a matching tag in the folder name.
Another tip is to create a dashboard document with links to all archived classes in Drive. This single sheet acts like a table of contents for your digital library. You can share it with co-teachers or administrators so they know exactly where to look.
Monthly review is also helpful. Set a reminder to check your archived list, delete old drafts, and clear out any unnecessary files. This habit keeps your backup storage from growing unchecked.
Consistent naming and clear notes ensure that when you need to revisit a course, it’s easy to find.
Conclusion
Archiving a Google Classroom is a small step that pays off in big ways. It keeps your active dashboard clean, preserves important work, and helps you maintain better records. By preparing your classroom, following clear steps, and backing up data, you can make archiving routine and reliable.
Using built-in tools or third-party services helps you choose the right workflow for your needs. Adding consistent naming and simple tracking systems ensures you never lose sight of past classes. With a solid archive strategy, you end each term with confidence, knowing you’ve safeguarded your content and kept your space organized. Now it’s time to give your dashboard a fresh start and archive that old course.